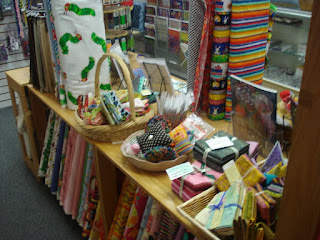
 Today I finally had enough of my fabric scraps living in plastic bags and decided to make some boxes. Some fabric boxes! I used a great tutorial by The Sometimes Crafter and it is absolutely unbelievable how quickly they were ready. I made two – actually I wanted one, but than I realised that I had matching fabric in a different colour and made another one for my felt cuttings.
 Although I followed the tutorial, I actually bought iron on interfacing. First I ironed the interfacing onto the reverse side of the outside fabric, and than I sewed the corners. It made the edges a bit harder. Also a good tip from the tutorial is to make the lining a littlle bit smaller than the outside of the box. It fits nicely inside.
After I made this box I was so pleased with the result and how nicely it looked on my work shelf, that i decided to make another one.

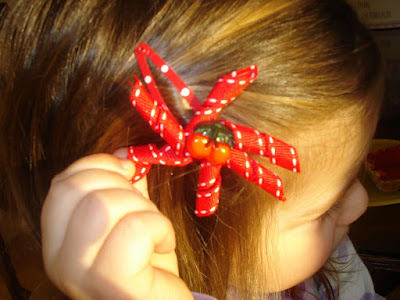
My little daughter was so patient with me and my sewing that I decided to make a crown for her. I've been wanting to make this crown for ever. It is from the book The Creative Family by Amanda Blake Soule, and its really cool. For some reason I imagined it pink, but my daughter demanded a red one - her favourite colour at the moment. And mummy loves polka dot!

And than we played with Playdoh...
 And sent an MMS photo to daddy...
 Hope you all have a lazy afternoon sometime soon!
Irina xx


 With Easter in mind I decided to make my daughter an Easter Egg bag from some strong felt leftovers I had. I saw something similar in the US but i usually try not to buy " Made in China" stuff, especially if I can make it myslef. I am light years away from providing a decent tutorial so here are some simple instructions. First I made a flower template and traced it over the felt. I made two whole flowers and two half flowers.
 I used softer felt for the base, but personally I think that hard felt would have been better, however in my case was too thick to sew. I attached the yellow felt, which made the bottom of the basket, to the half cut flower shape.
  Next I did the same on the other side.
  Can you see, it is starting to resemble a basket!
  Now I cut the extra part from what was the inside flower shape, like this:
 The basket ended up looking like this.
  Next I decorated the flower shapes. Once i was happy with the choice of fabric ( same as last year) I used
 I than appliqued the flower using brown thread on the sewing machine to outline the shape of the figure. I really like this technique, it can never be perfect but it looks very cute. Off course my daughter is helping me hold the fabric in place.
  Next I attached the outside flower to the inside flower. I decided to baste the felt to keep both pieces in place so i didn't have to worry about pins.
  I used a contrasting yellow thread and a simple decorative stitch from my sewing machine. Not to forget a handle attached with some buttons and here is the finished basket.
  Now from the other side.
 However, I found a little problem.. The outside flower was heavier than the inside and was pulling slightly so I had to attach the inside and the outside part together.
 Finaly to complete the look I added two tiny stuffed felt creatures - a ladybird and a buzzy bee.
  Finished!!! I hope my daughther will have lots of fun collecting Easter eggs in her basket!
  Love, Irina xx


